Add the chat to Wix
Updated
The chat widget is one line of code. Here's where it goes on a Wix site, so the chat button appears in the corner of every page.
For more detail, other options and cookie consent, see our guide How to add a custom AI chatbot to your Wix website.
1. Copy the code
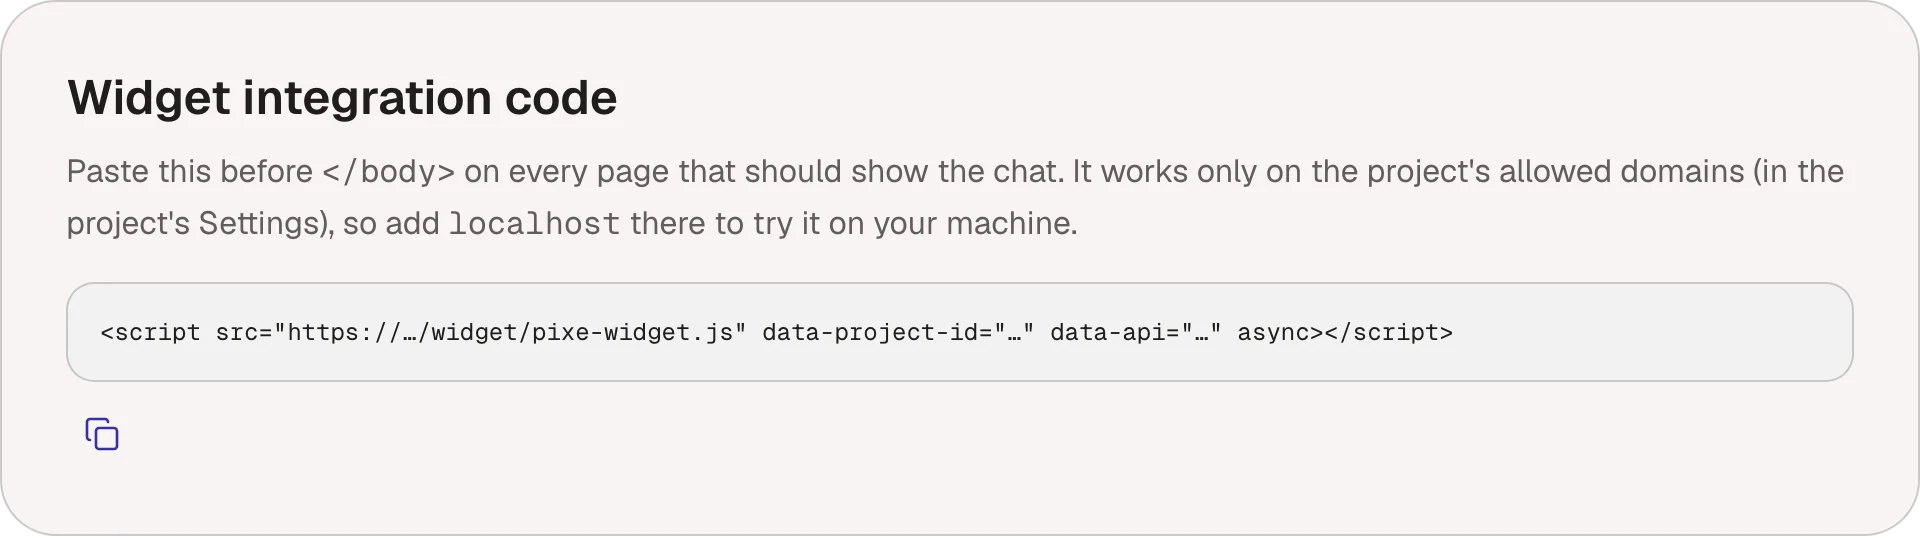
Open your project and go to Settings. Under Widget integration code, choose Copy snippet. Use the code from your own dashboard: it contains your project's ID.
<script src="https://…/pixe-widget.js" data-project-id="…" data-api="…" async></script>
2. Paste it into Wix
Wix's Custom Code needs a Premium plan and a connected domain.
- Open your site's dashboard (not the Editor) and go to Settings → Custom Code (under the advanced or Development & integrations settings).
- Choose + Add Custom Code and paste the code. Name it "Pixe chat".
- Under Add Code to Pages, choose All pages and Load code on each new page.
- Under Place Code in, choose Body - end, then Apply.
It's live straight away. If you use Wix Chat, turn it off so visitors don't see two chat buttons.
3. Check your domains
The widget only runs on your project's allowed domains, in Settings. If you connect a new domain to the Wix site, add it to the project, and check the Custom Code snippet is still there: Wix ties custom code to a domain.
The chat button doesn't appear
- Custom code doesn't run in the Editor or its preview: open your live site.
- No Custom Code in Settings means the site has no Premium plan or connected domain.
- Check the page's domain is one of the project's allowed domains in Settings.
- Check the widget isn't turned off in Chat → Widget.
- Open the browser's console (right-click, Inspect, Console): the chat leaves a short message there when it doesn't load.