Add the chat to WooCommerce
Updated
The chat widget is one line of code. Here's where it goes on a WooCommerce site, so the chat button appears in the corner of every page.
For more detail, other options and cookie consent, see our guide How to add a custom AI chatbot to your WooCommerce store.
1. Copy the code
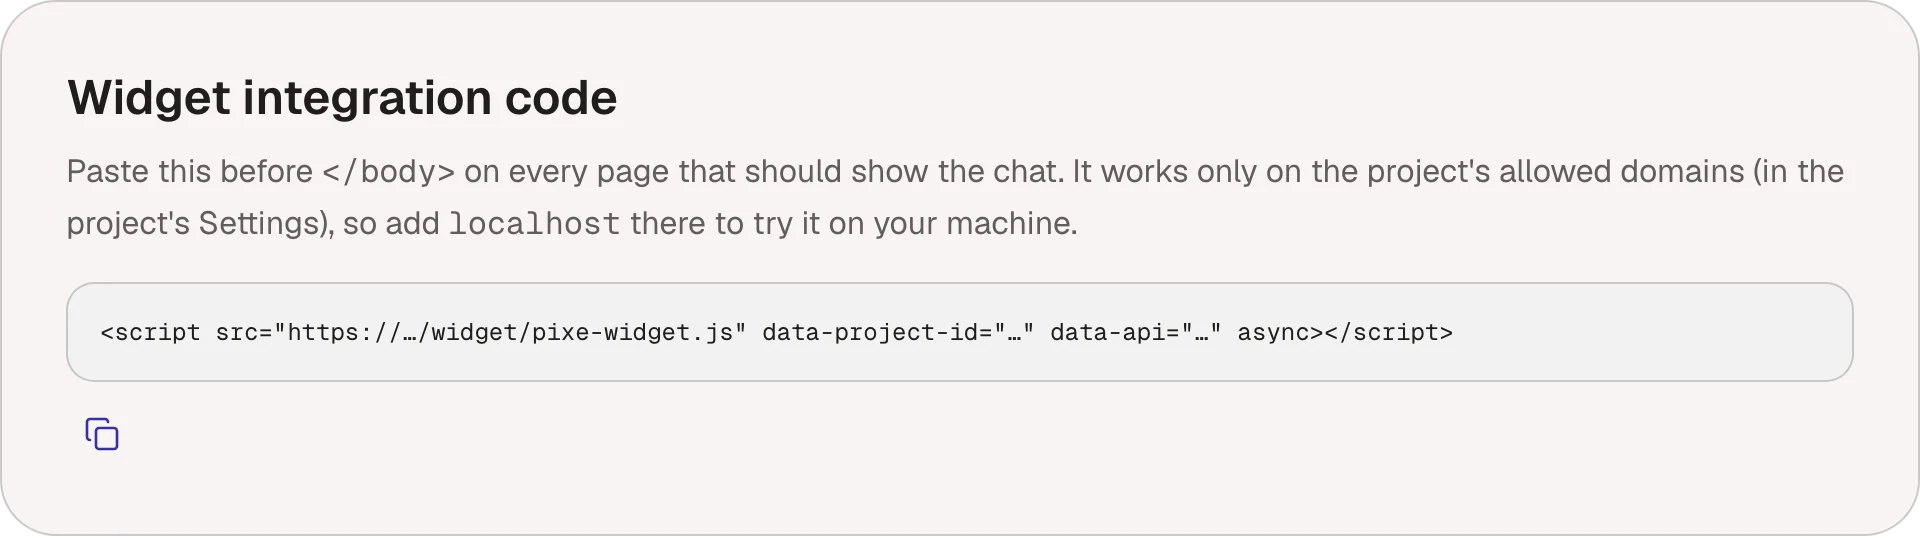
Open your project and go to Settings. Under Widget integration code, choose Copy snippet. Use the code from your own dashboard: it contains your project's ID.
<script src="https://…/pixe-widget.js" data-project-id="…" data-api="…" async></script>
2. Paste it into WooCommerce
WooCommerce runs on WordPress, so the code goes where it would on any WordPress site: see Add the chat to WordPress. The easiest way is a header and footer code plugin such as WPCode: paste the code into its Footer box and save.
The chat then shows on every page, including the shop, product, cart, checkout and account pages.
What to teach it: add your shipping, returns, size guide and FAQ pages in Knowledge. The assistant can't see your orders or stock; add a form so order questions reach you with the order number.
3. Check your domains
The widget only runs on your project's allowed domains, in Settings. Add your staging store's address too if you test there.
The chat button doesn't appear
- Clear your caching plugin's cache (and your host's), then reload. Stores lean on caching, so this is the usual cause.
- If a plugin delays, combines or minifies JavaScript, exclude
pixe-widget.jsin its settings. - Check the page's domain is one of the project's allowed domains in Settings.
- Check the widget isn't turned off in Chat → Widget.
- Open the browser's console (right-click, Inspect, Console): the chat leaves a short message there when it doesn't load.